One of the most common questions I receive as a makeup educator is how to apply eye makeup for different eye shapes. While there are countless tutorials online, many fail to acknowledge that techniques need to be customized for each unique eye shape. In this comprehensive guide, I'll share professional techniques for enhancing different eye shapes, helping you discover the best approach for your own eyes.
Identifying Your Eye Shape
Before diving into specific techniques, it's important to understand your own eye shape. Look at your eyes in a mirror, keeping your face relaxed and looking straight ahead.
Here are the key characteristics of common eye shapes:
Almond Eyes
Almond eyes are considered the "standard" eye shape in makeup tutorials. They have a visible crease and are slightly uplifted at the outer corners.
- The iris is partially covered by the upper and lower lids when looking straight ahead
- The eye tapers slightly at both corners
- The crease is clearly visible when eyes are open
Hooded Eyes
Hooded eyes have excess skin folding down from the brow bone that covers the crease and sometimes part of the mobile lid.
- The crease is partially or completely hidden when eyes are open
- Eyeshadow on the lid often disappears when looking straight ahead
- May be genetic or develop with age
Round Eyes
Round eyes appear more circular than almond-shaped and often show more of the iris.
- The whites of the eyes are visible above and/or below the iris when looking straight ahead
- The outer and inner corners align horizontally
- The crease is typically clearly visible
Monolid Eyes
Monolid eyes have little to no visible crease in the eyelid.
- The transition from the lid to the brow bone is smooth, without a defined crease
- Common in East Asian ethnicities
- Often have a flatter eyelid surface for makeup application
Downturned Eyes
Downturned eyes have a slight downward tilt at the outer corners.
- The outer corners appear lower than the inner corners
- May create a slightly drooping appearance
- Often have a clearly visible crease
Upturned Eyes
Upturned eyes have a natural lift at the outer corners, creating a slight cat-eye effect.
- The outer corners sit higher than the inner corners
- Often have a clearly visible crease
- The lower lash line curves upward at the outer corner
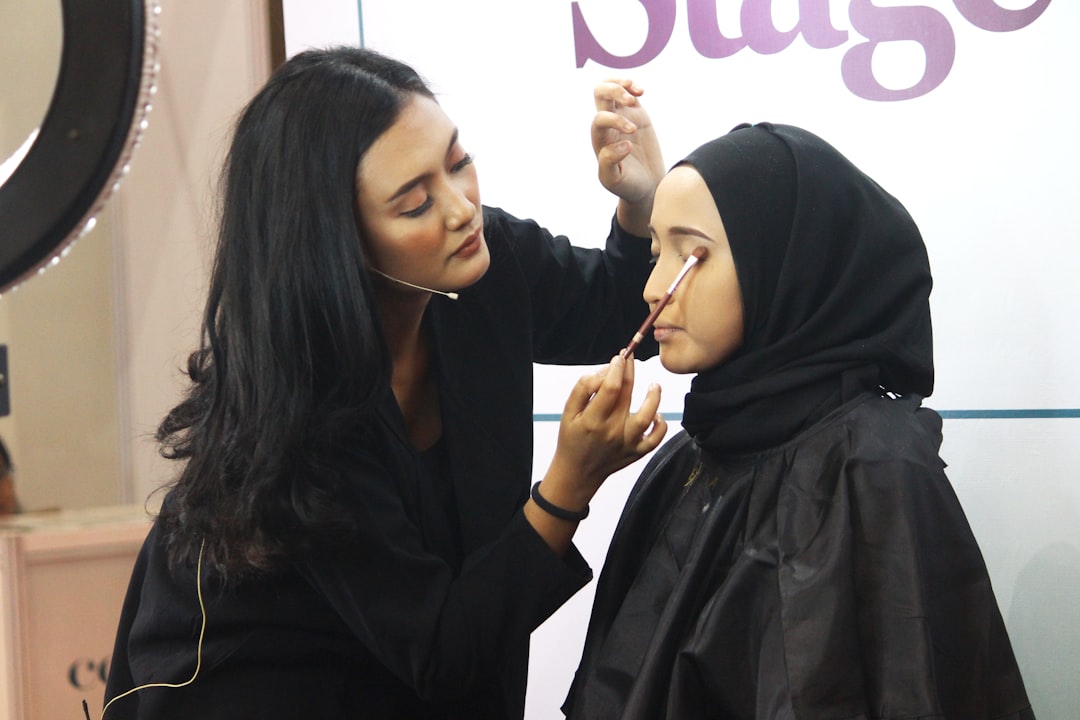
Understanding your eye shape is the first step to perfecting your eye makeup
Makeup Techniques for Almond Eyes
Almond eyes are versatile and can pull off most eye makeup styles. Here's how to enhance them:
Eyeshadow Placement
- Apply a medium shade throughout the crease, following its natural shape
- Place a lighter shade on the lid and inner corner
- Use a darker shade in the outer V for definition
Eyeliner
- Both thick and thin liner styles work well
- Wing the liner following the natural upward tilt of the eye
- Line the waterline if desired – almond eyes can handle both upper and lower waterline definition
Pro Tip
Emphasize the natural almond shape by focusing darker colors on the outer third of the eye and lighter colors on the inner corner.
Makeup Techniques for Hooded Eyes
Hooded eyes require strategic placement to ensure your makeup remains visible when your eyes are open.
Eyeshadow Placement
- Apply eyeshadow with eyes open to ensure proper placement
- Extend eyeshadow slightly above the crease so it's visible when eyes are open
- Focus darker shades above the actual crease rather than on the outer corner
- Use matte formulas for the crease work as shimmer can emphasize the hood
Eyeliner
- Keep liner thin, especially at the inner corner
- Create a "bat wing" liner – a technique where you map out the wing with eyes open
- Consider tightlining (applying liner to the upper waterline) to define eyes without taking up lid space
Pro Tip
Use a light, shimmery shade in the center of the lid to create the illusion of more lid space, and always set eyeshadow primer with a translucent powder to prevent creasing.
Strategic placement is key for hooded eye makeup
Makeup Techniques for Round Eyes
Round eyes can be made to appear more elongated and almond-shaped with the right techniques.
Eyeshadow Placement
- Focus darker shadows on the outer third of the eye to create elongation
- Apply crease color slightly higher toward the outer corner
- Avoid applying dark colors all around the eye as this emphasizes roundness
Eyeliner
- Create a wing that extends upward and outward to elongate the eye
- Consider skipping liner on the lower lash line or only line the outer third
- Thicken liner at the outer corner to create the illusion of an almond shape
Pro Tip
Use a light shade on the inner two-thirds of the lid and a deeper shade on the outer third, blending in a sideways "V" shape to create the illusion of an elongated eye.
Makeup Techniques for Monolid Eyes
Monolid eyes have a beautiful flat canvas that allows for creative makeup application.
Eyeshadow Placement
- Apply eyeshadow in a gradient from lash line toward the brow bone
- Create depth by using darker shades closest to the lash line and diffusing upward
- Extend eyeshadow outward past the corner of the eye for an elongating effect
Eyeliner
- Thicker liner works well on monolids as there's no concern about it taking up crease space
- Create a slight wing that follows the natural shape of the eye
- Consider a "floating liner" technique where liner is applied above the natural lash line and visible when eyes are open
Pro Tip
Use glitter or shimmer on the center of the lid for dimension, and consider defining the lower lash line to create balance and further define the eye shape.
Monolid eye makeup creates beautiful dimension
Makeup Techniques for Downturned Eyes
For downturned eyes, the goal is to create lift at the outer corners.
Eyeshadow Placement
- Focus darker shades on the outer corner, blending upward in a lifted direction
- Apply lighter shades to the inner two-thirds of the lid
- Avoid bringing dark shadow too far down on the outer corner
Eyeliner
- Create an upturned wing that counteracts the downward slope
- Keep liner thinner at the inner corner and gradually thicken toward the outer corner
- Consider skipping lower lash line liner at the outer corner or lifting it upward
Pro Tip
Highlight the brow bone and inner corner to create the illusion of lift, and consider using an eyelash curler to give the eyes an upward appearance.
Makeup Techniques for Upturned Eyes
Upturned eyes already have a natural lift that can be enhanced or balanced depending on your preference.
Eyeshadow Placement
- Apply shadow in the crease following its natural upward slope
- Balance the natural lift by bringing some depth to the inner corner if desired
- Most shadow placements work well on this versatile eye shape
Eyeliner
- Follow the natural upward tilt when creating a wing
- Both thick and thin liner styles work well
- Lower lash line liner can be applied fully or just on the outer half
Pro Tip
To balance the natural upturn, you can apply slightly more mascara to the center lashes rather than focusing on the outer lashes, which would enhance the upturn further.
Universal Eye Makeup Tips
Regardless of your eye shape, these tips will help you achieve beautiful eye makeup:
Prep and Prime
- Always use an eyeshadow primer to prevent creasing and increase longevity
- Set primer with a skin-toned eyeshadow or translucent powder before applying color
Blending Is Key
- Invest in good blending brushes
- Take your time blending transitions between colors
- Use a clean brush for final blending
Mascara Application
- Curl lashes before applying mascara
- Apply mascara to both upper and lower lashes for balance
- Focus application on areas that enhance your particular eye shape
Customize and Experiment
- These are guidelines, not rules – adapt techniques to suit your preference
- Most people have slightly asymmetrical eyes, so adjust your technique accordingly
- Take photos of your makeup to see what works best for you
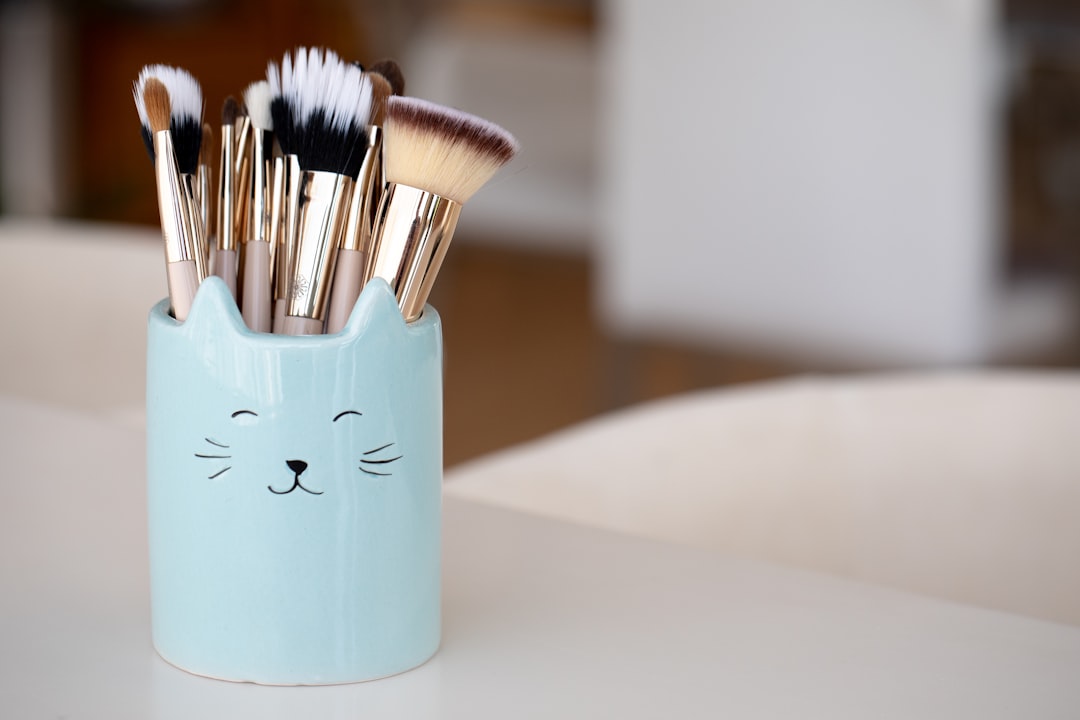
Quality brushes make all the difference in eye makeup application
Conclusion: Celebrating Your Unique Eye Shape
Understanding your eye shape is the first step to creating flattering eye makeup looks. Remember that these guidelines are meant to enhance your natural features, not change them completely. The beauty of makeup is in its ability to celebrate your unique characteristics while allowing for creative expression.
At Fluid Junction, we specialize in customized makeup application that takes into account your individual features. Our one-on-one makeup lessons can help you master techniques specific to your eye shape, allowing you to create beautiful looks that enhance your natural beauty.
Want to learn techniques specific to your eye shape?
Book a personalized makeup lesson with one of our professional visagistes.
Book a Lesson